FSW Welding Process, Defects, and Inspection Methods
FSW Welding Process Characteristics
Stir friction welding technology is one of the fastest developing technologies in recent years, with small damage to the welded material, low welding deformation, high weld strength and green manufacturing and other characteristics, known as “the most revolutionary welding technology of our time”.
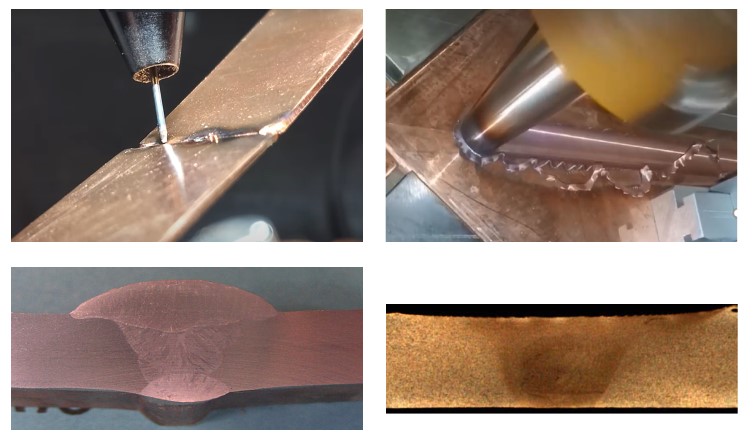
Stirring friction processing is mainly realized by the high-speed rotation and movement of the stirring head, which consists of a shoulder and a stirring needle. During the machining process, the stirring head rotates at high speed and slowly squeezes into the part of the workpiece to be machined until the shoulder is in close contact with the surface of the workpiece.
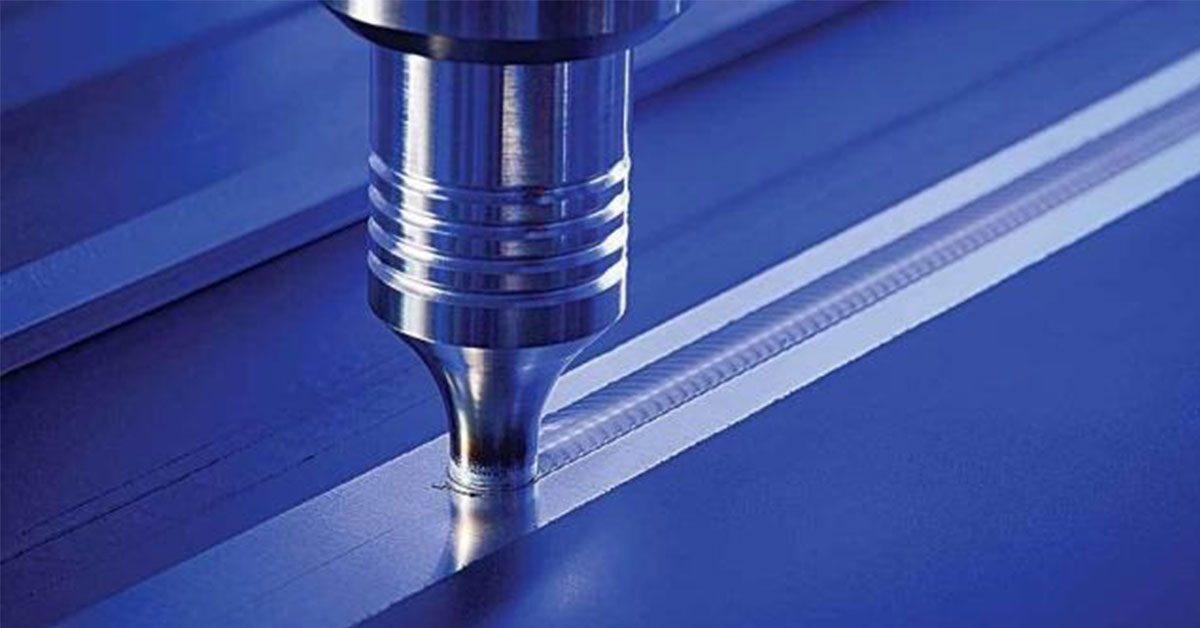
The stirring needle reaches into the material for friction and stirring, and the shear friction heat generated by its rotation softens and thermoplastically plasticizes the metal around the stirring needle, resulting in plastic rheology of the material in the processing area.
The mixing head rotates at high speed while moving relative to the workpiece in the machining direction. The thermoplasticized material is transferred from the front to the back of the mixing head and strongly plastic deformed by the forging action of the mixing head shoulder.
Friction stir welding has many advantages over the oxyacetylene welding process, including the ability to eliminate many welding materials such as gas, electrodes and electrodes.
Since the implementation of the joining process is carried out under the action of frictional heat generated by the mechanical operation, there are only 3 main welding variables to be controlled in friction stir welding, including the impact force, the rotation speed and the welding speed.
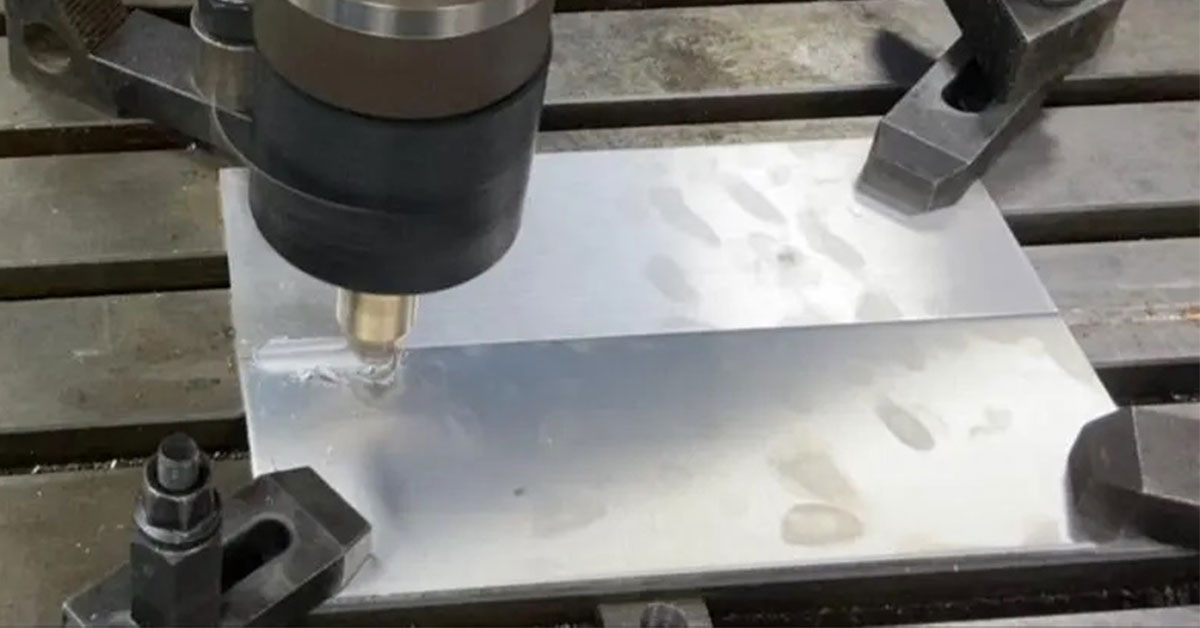
Types of defects in friction stir welding
The friction stir welding process has a tendency to form harmful defects, the type of which depends on the parameter settings and control of the friction stir welding.
1 Hole
The formation of hole defects is mainly due to insufficient heat input during the welding process, insufficient material to reach the plasticized state, resulting in insufficient material flow, which leads to the formation of incomplete closure inside the weld.
When welding with a stirring head that has a columnar or conical stirring needle without threads, the joint is susceptible to cavities. These defects are usually located in the lower center of the forward side of the joint and near the weld surface.
Cavities located near the surface of the weld are oriented in the same direction as the weld, and are also called tunneling defects when they extend longitudinally along the length of the weld.
2 Fly edge
Flying edge defects appear in the weld surface, usually due to excessive welding pressure and lead to more plastic material from the shoulders on both sides of the extrusion, the formation of a defect after cooling.
Stir friction welding process is a weld material volume of the process, in the actual welding process, the stirring head shoulder, the needle part, the unmelted base metal will form a “extrusion mold”, plastic deformation of the material in the “extrusion mold” in the flow.
If the welding pressure is too high, that is, the stirring head is too deep, will make the “extrusion mold” volume is smaller than the volume of the normal welding, resulting in part of the material from the shoulders on both sides of the extrusion, after cooling the formation of fringe defects.
3 Unwelded joint
Unwelded is the bottom of the weld does not form a connection or incomplete connection and the emergence of “crack-like” defects, weld pressure is too small to form the root of unwelded.
Unwelded joints are essentially caused by insufficient length of the stirring needle. During friction stir welding, if the length of the stirring needle is appropriate, the oxides on the butt surface between two butt plates will be broken up during the rotation and flat motion of the stirring needle and a dense joint will be formed at the back of the stirring head, with the oxides dispersed in the joint.
However, if the stirring needle length is shorter than the normal size, the stirring needle cannot completely stir the material on the thickness of the weld seam during the welding process, especially the material on the lower part of the weld seam, and together with the presence of the oxides on the butt joint surface of the plates, crack-like unwelded defects will appear at the root of the joint after welding.
4 Groove
The groove defect is an important defect that the stirring head does not form a connection after mechanical stirring on the surface of the butt plate, usually located on the surface of the weld on the forward side.
The groove defect is mainly due to the welding process pressure is too small, resulting in a serious lack of heat input, plastic deformation of the material a large number of reduced; and material mobility is reduced, resulting in the forward side of the weld plasticized material from the backward side of the flow around the forward side can not be backfilled, so that the formation of voids in the forward side of the weld surface near the surface.
When the material flow capacity is further reduced, the scope of the formation of the cavity to expand, and ultimately through the upper surface of the weld to form a gouge defect.
5 Other defects
Due to the presence of weld surface oxide film, after welding in the weld surface may form a layer of different oxides with the weld interior; due to the butt surface oxide film in the welding process may not have been completely stirred broken, so that in the weld remains and is a continuous distribution of the shape, known as the “S-line” or “Z-line “In the lap or T-joint, it is easy to form a kind of defect called residual interface line, which also belongs to the unwelded defect.
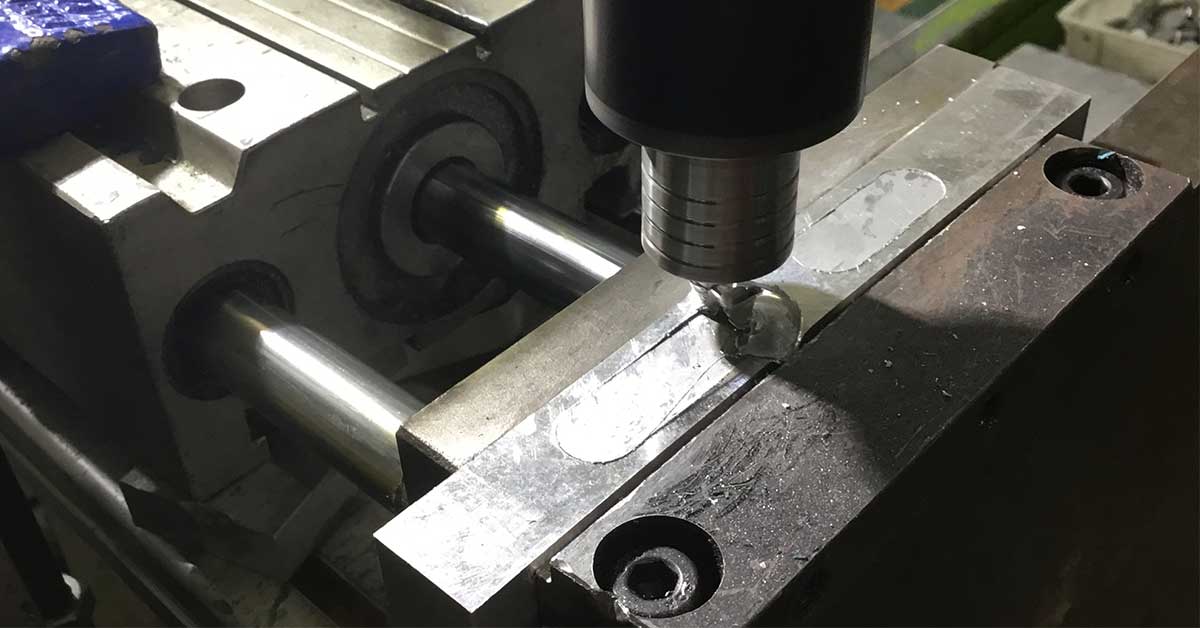
Friction Stir Welding Inspection Methods
Friction stir welding is a new welding method used to join two or more metal workpieces together. The key to inspecting the quality of friction stir welding is to determine if there are any defects in the welding process. Below are 10 detailed descriptions of friction stir welding inspection methods:
1. X-ray Inspection Method: Using X-rays to inspect the weld seam, the quality of the weld is determined by observing the apparent image of the X-rays. The disadvantages are high cost, the need for specialized equipment and emission of X-ray radiation.
2. Heat Flow Inspection Method: Detects friction stir welding defects by measuring the response of heat flow to the welding process. This method can detect defects such as cracks and porosity.
3. Eddy Current Detection: Weld defects are detected by passing an electric current through a sensitive coil as well as through a base, which generates an eddy current magnetic field. When the eddy current is affected by a weld defect, the signal in the sensitive coil changes.
4. Ultrasonic Detection Method: Ultrasonic sensors are placed near the weld seam and defects are detected by recording the reflection and propagation time of the ultrasonic waves. This method can detect defects such as displacement, porosity and cracks.
5. Magnetic Powder Detection Method: A magnetizable powder is applied to the weld and weld defects are detected by observing whether the powder is adsorbed or not. This method is suitable for cold and hot friction stir welding defect detection.
6. Flaw Detection Method: A flaw detector is used to detect defects in the weld. Different types of probes and sensors can be used to detect different types of defects.
7. Sonar Detection Method: Sonar technology is used to detect the hydrodynamic properties of the weld. The frequency and amplitude of the acoustic signal are analyzed to determine the quality of the weld.
8. Infrared Detection: Infrared sensors are used to detect the heat generated during the welding process. By observing the distribution and intensity of the heat source to determine the quality of welding.
9. Optical inspection method: the use of optical sensors to detect the optical properties of the weld surface. By analyzing the characteristics of reflected and scattered light to determine the quality of the weld.
10. Vibration Detection Method: The quality of the weld is detected by measuring the vibration signal during the welding process. Weld quality can be judged by analyzing the frequency and amplitude of the vibration signal.
Summary
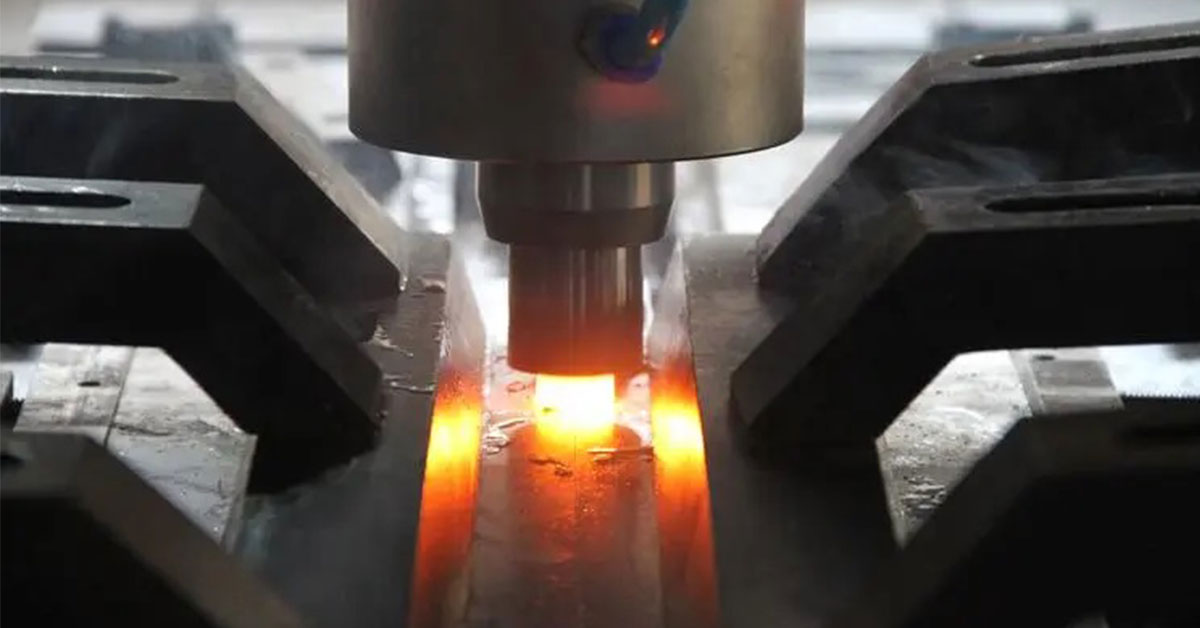
Friction stir welding (FSW) is a rapidly evolving technology known for its minimal material damage, low deformation, high weld strength, and environmental benefits.
It operates through a high-speed rotating stirring head that creates frictional heat to plastically deform and weld metals. Key variables in FSW include impact force, rotation speed, and welding speed.
Common defects in FSW include holes, flying edges, unwelded joints, and grooves, often resulting from issues like insufficient heat input or improper stirring head length.
Inspection methods for FSW include X-ray, heat flow, eddy current, ultrasonic, magnetic powder, flaw detection, sonar, infrared, optical, and vibration techniques, each offering different advantages for detecting weld quality and defects.


